You, reading this, want to desperately know how to improve your photography skills so that you can get good photos while you’re travelling. You’ve tried a lot of techniques, even maybe bought a better camera thinking it would make your photos look better but it hasn’t. Well if you feel like your photos aren’t as good as they could be then this blog post is for you!
In this guide, I’ll be teaching you how to take the best photos while travelling! How to make them look more professional and original so that they stand out! This guide is for beginners or anyone interested in expanding their photography styles. As an amateur photographer myself who specializes in landscape/travel photography, I wanted to share my knowledge with you! I’ll definitely keep this blog post updated every time I think of a new tip for you guys!
Keep on reading to find out how to improve your photography and get better shots!
What settings are the best for travel photography?
First of all, make sure to shoot in RAW and not JPEG as RAW makes the editing process so much easier. A good lens for landscape is a wide lens (around 16-50mm) but of course that all depends on what kind of shots you are going for. As for the camera settings, I normally shoot in aperture priority and I typically go for a small aperture (around f/5-6) if I’m shooting handheld. If you are using a tripod you can go for a wider aperture such as f/16. ISO is in 100 and white balance in Auto. I use manual focus (autofocus works wonders as well) and if you can get yourself a tripod!
1. Use framing
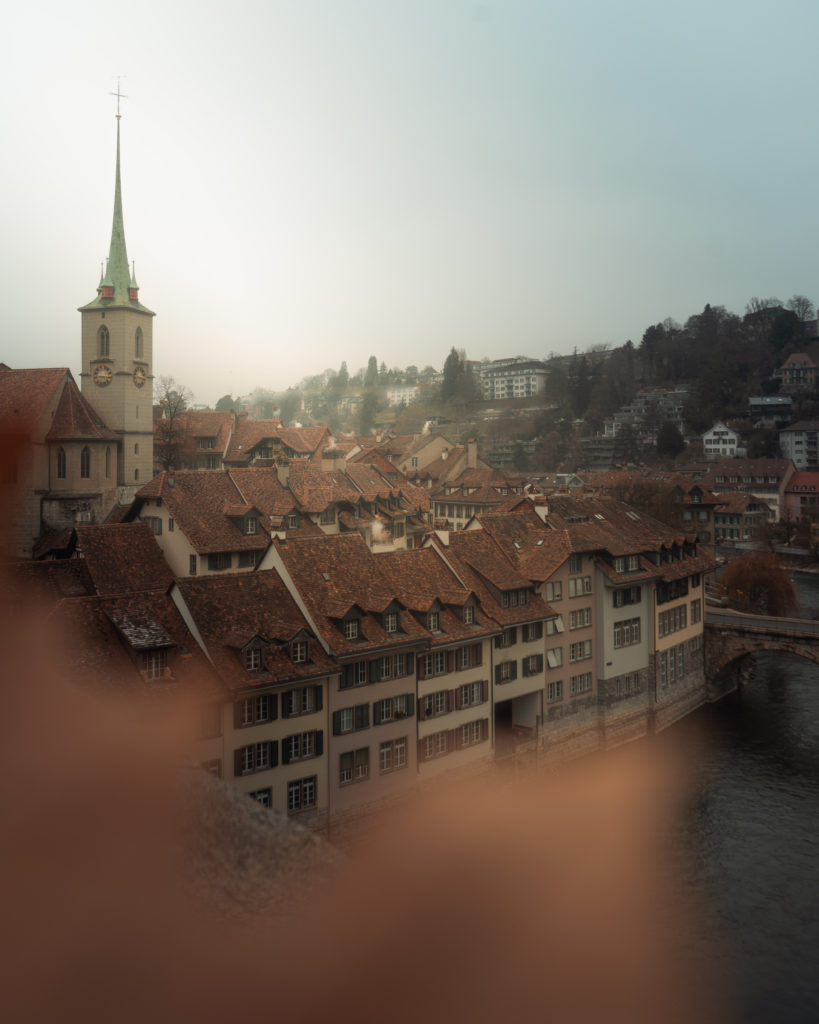
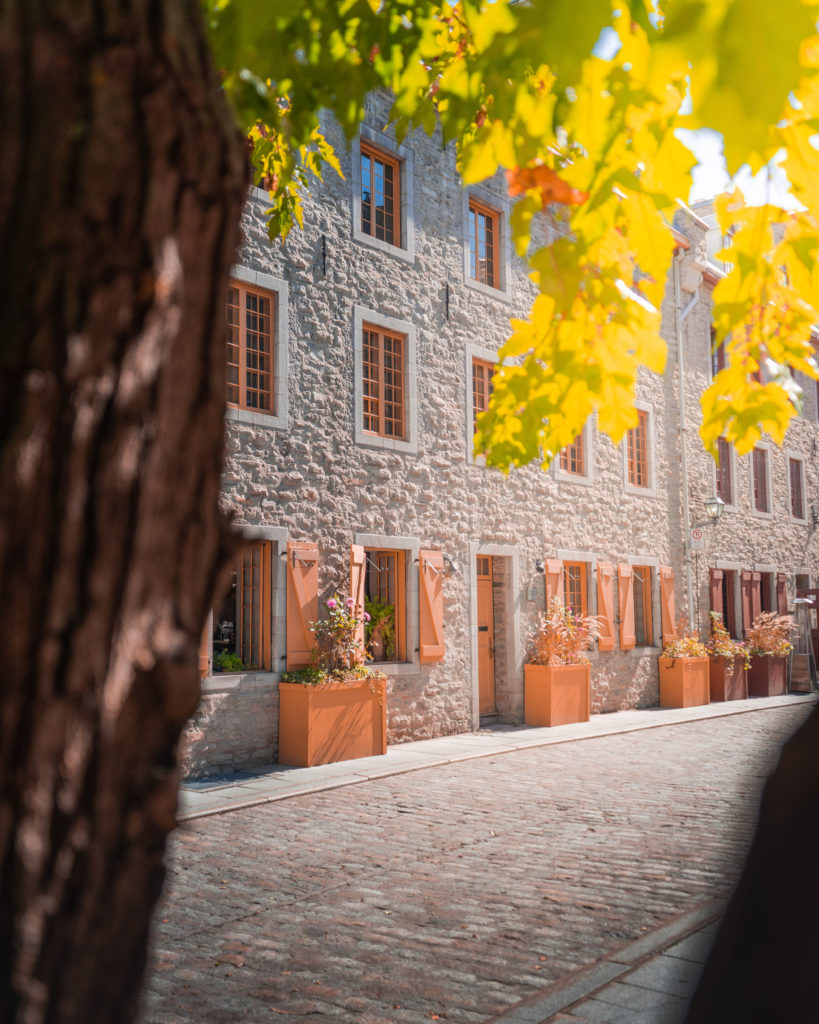
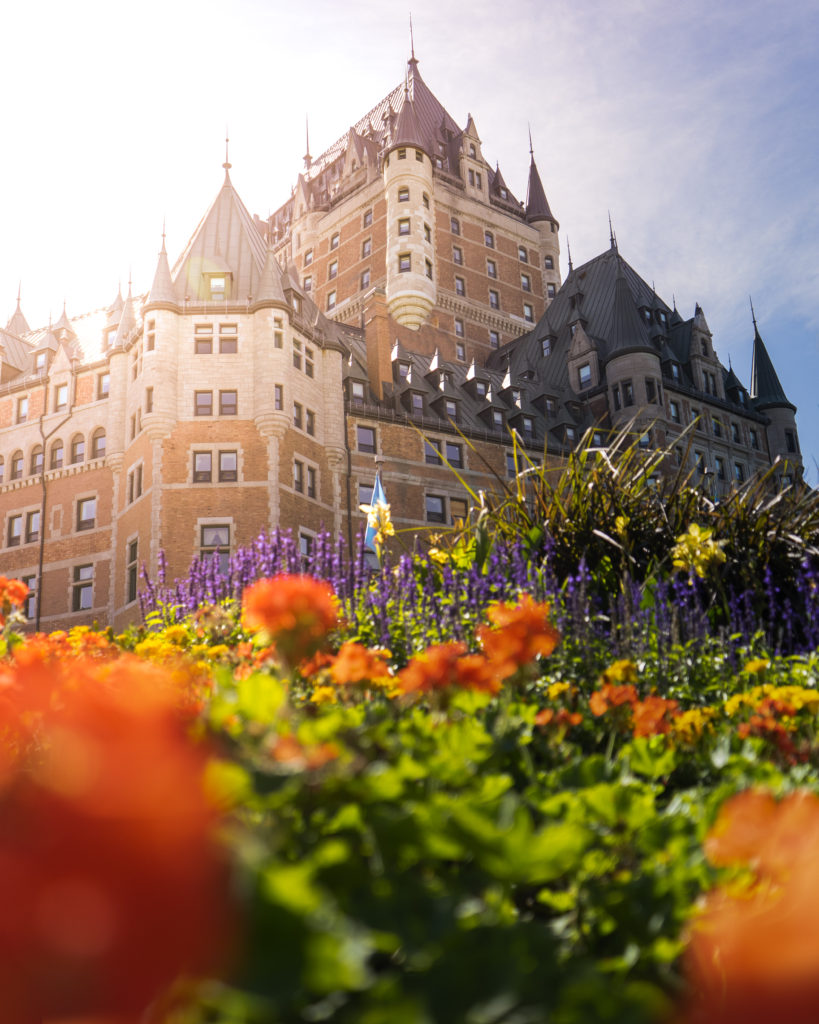
An absolute must when wanting more depth in your shot is to use framing. Whether it is all around the shot or just on one side. Framing can make the shot look a whole lot different. For example, you can use branches from a tree, flowers, buildings, etc.. as framing. It makes the centre point of your photo stand out much more.
Extra tip: Shooting in a low f stop will make the framing more blurry making the subject of the photo stand out even more.
2. Shoot at the right time of day
It’s important to always plan at what time of day you want to shoot. Golden hour or sunrise are probably one of the best times to shoot. Let me tell you why. The light isn’t too harsh, there is a lovely natural soft and yellow-orange light, the sky is colourful and the touristic places aren’t crowded! The worse time to shoot is probably around midday when the sunlight is very strong. Also, make sure to always check the weather as shooting on a grey and cloudy day isn’t much fun.
3. Angles
It is the easiest to just take a photo of the eye-level but why not try other angles? Go on your knees, on your toes or even lay on the floor. Don’t be afraid to experiment with different angles and see which one makes the landscape stand out more!
4. Try to have a centre point
Wheater it’s a building, a mountain, a person or a waterfall. It is always important to have a centre point in your shots. What I mean by that is that you need something that attracts the eye instantly. As I mentioned before, framing will make your centre point stand out!
5. The image composition
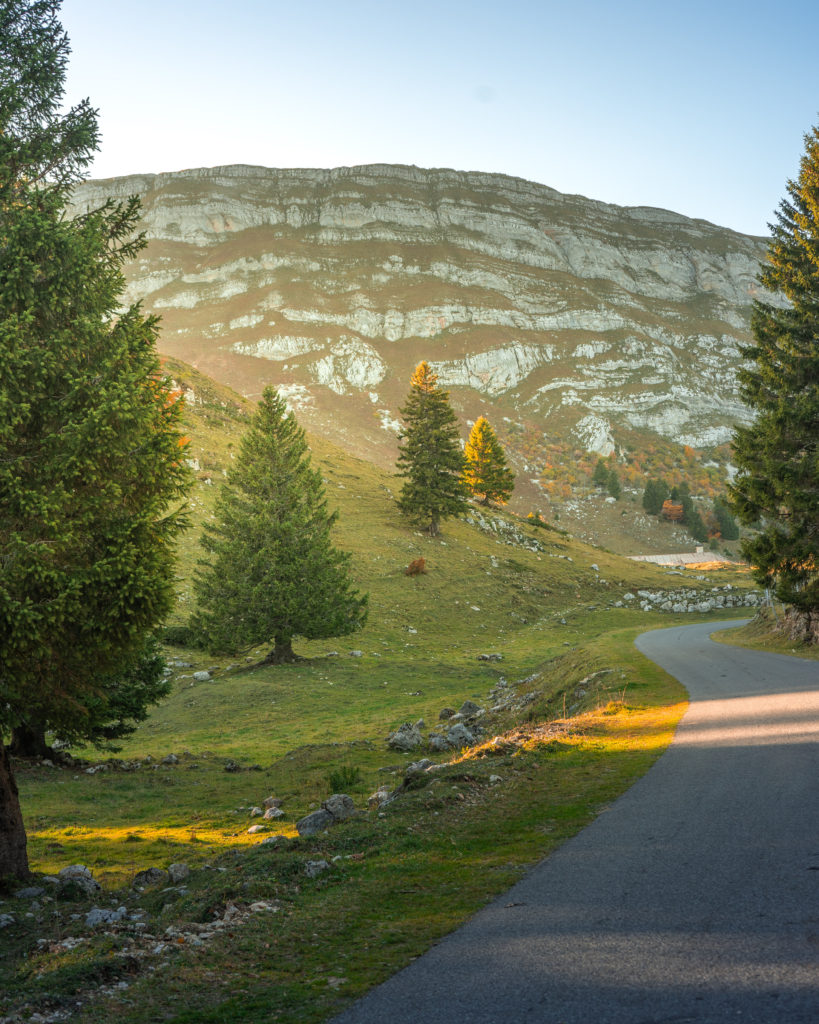
1/3 a sky, 1/3 ground and 1/3 the main subject. It’s very important to frame your shots in a certain way. To have your subject in the middle or a road that adds dynamic to the shot. Try to frame the shot in different ways to make what you want, stand out. Make it more dynamic by having diagonal lines or have a road leading out of the shot to create an interesting composition.
Extra tip: Make sure to turn on the grid feature on your camera so that the screen in separated in 9 squares.
6. Get creative
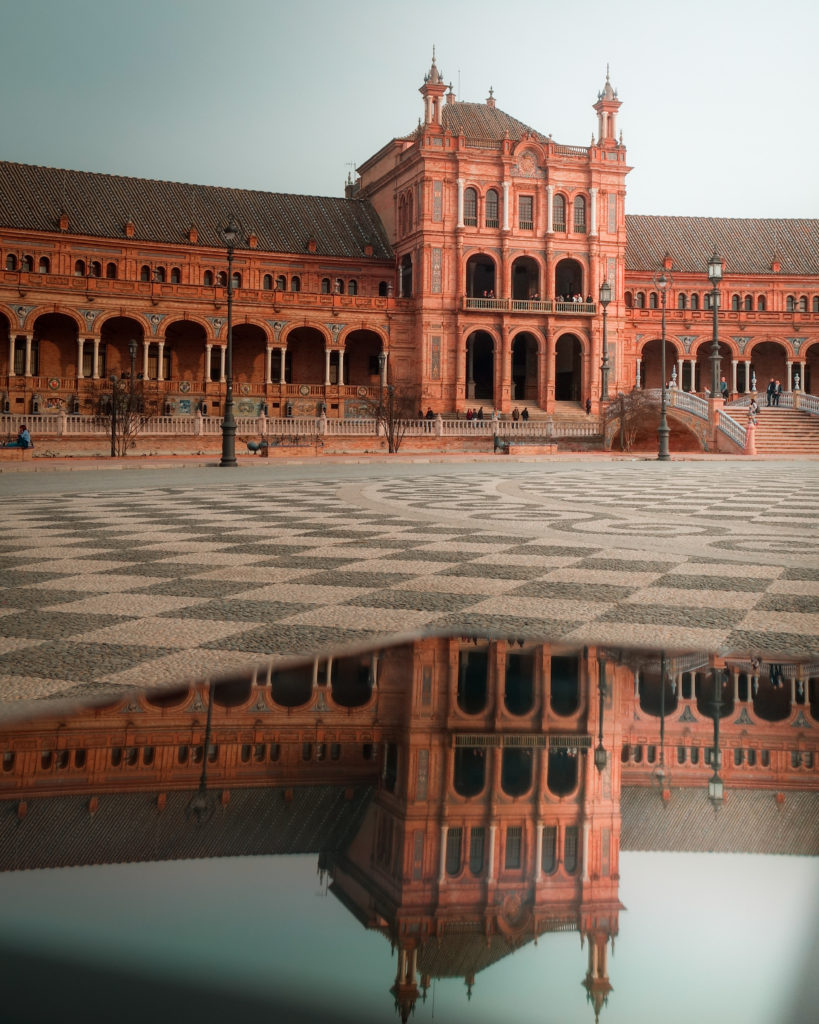
Photography is all about being creative! Try to get the reflection in a puddle or get an original angle of the landscape or landmark. Use your phone as a reflection if there is no water near you. Pick up a leaf and use it as a way to add depth in your shot, etc.. There is always a way to make a touristy or dull looking landscape or landmark original by thinking creatively and looking around you to see what you can use to make the shot stand out.
7. Do panoramas
Try doing panoramas! Most cameras or phones have the panorama setting in them so make sure to make the most out of it! When a landscape seems too wide for a one frame shot (for example a range of mountains), make sure to use this setting! If you have Adobe Photoshop or Lightroom ou can even cut down the photo to create a carousel post on Instagram!
8. Add motion
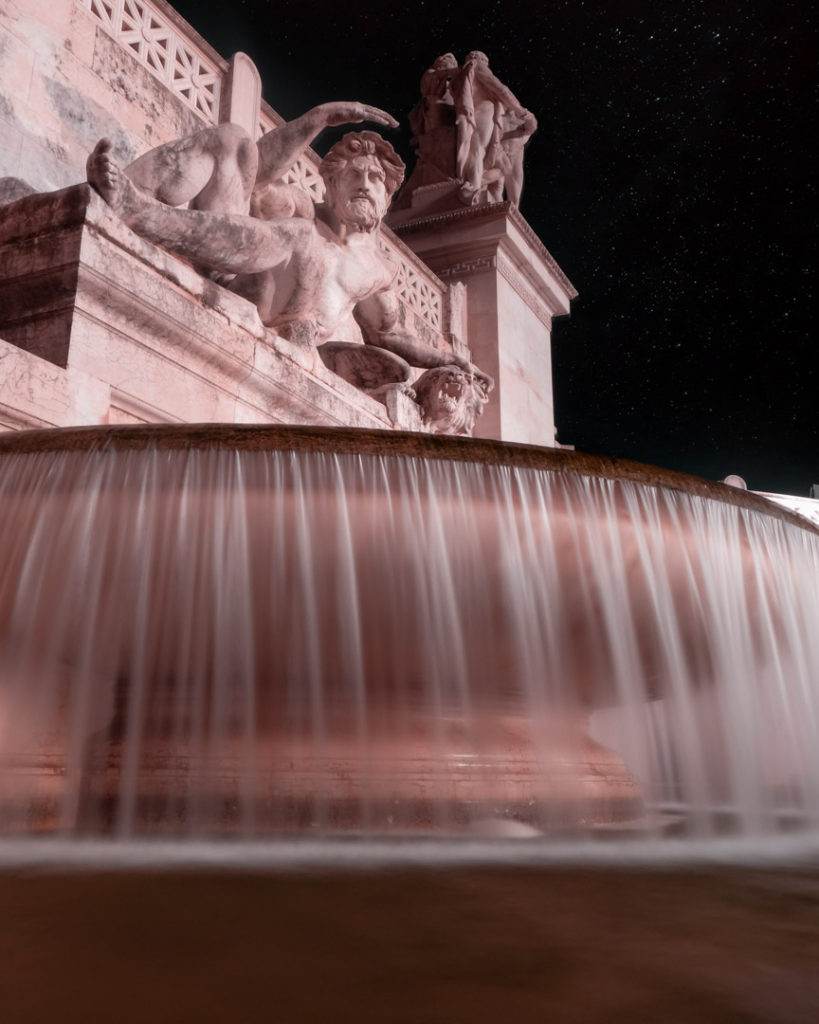
Birds, someone walking in the shot, cars or a trail of light caught with long shutter speed. Adding motion to your shots is super important to make them more interesting and eye-catching. Static shots often look not as professional as shots with movement in them.
9. Prioritize “interesting” over “beautiful”
One of my photography friends told me this next tip actually. It kind of sums up all my previous points. What I mean is that every shot is beautiful, it’s easy to edit a shot to make it beautiful. But what makes a shot interesting? It’s when there is a lot to look at in the shot, when there’s a dynamic to it, an interesting composition. Someone will just look at your photo for one second say it’s beautiful and then scroll further. So you need to make your photo hold the attention of the viewers for longer. By adding details, motion, depth, etc…
10. Try out several lenses
As I said before, a wide lens is practical for landscape shots but using a zoom lens could make the landscape so much more interesting and detailed. So if you have the right gear try out different lenses. By using a zoom lens instead of a wide one, you can capture so many more details.
I hope you enjoyed this blog post about how to take better shots and improve your photography skills.
Do you have any other tips you want to share? Comment them below! You can check out my other blog posts about how to take unique photos while travelling here!

